We may be biased, but here at TRI Roofing, we like to think that a good roof meets or beats any other home improvement project out there in terms of value. According to a recent survey on home improvement, a new roof is estimated to return nearly 80% to the price of the home, and consistently ranks high in the reseller list of improvement items.
It’s no secret why a good roof can add so much value to a house: it IS the single most important barrier to the elements for your home. It’s no exaggeration that over time a quality roof can literally save you thousands of dollars of unneeded repairs from an unexpected roof leak, and that’s why a good roofing maintenance and inspection plan is crucial in order to get the most value out of this critical part of your home. In this article we’ll explore what to look out for when inspecting your home’s roof as a “do-it-yourselfer” in addition to tips on choosing a professional for the job.
NOTE: Our article assumes that inspection involves an asphalt roof, which is by far the most popular style for residential homes. For other roofing types including Tile, Flat Rubber roofing, Slate and Metal roofing, please see our related, individual articles on maintenance.
Do-It-Yourself Roof Inspection
Inspecting your roof on your own is not for the faint of heart. While from the ground it may not LOOK terribly frightening – believe us: the perspective ON the house is much different. If heights aren’t your thing, or you have pitches and eves that are extremely steep, our recommendation is to play it safe and go with a profession inspection service. That being said, there is definite benefit for a ground-based inspection effort with a set of binoculars and a notepad.
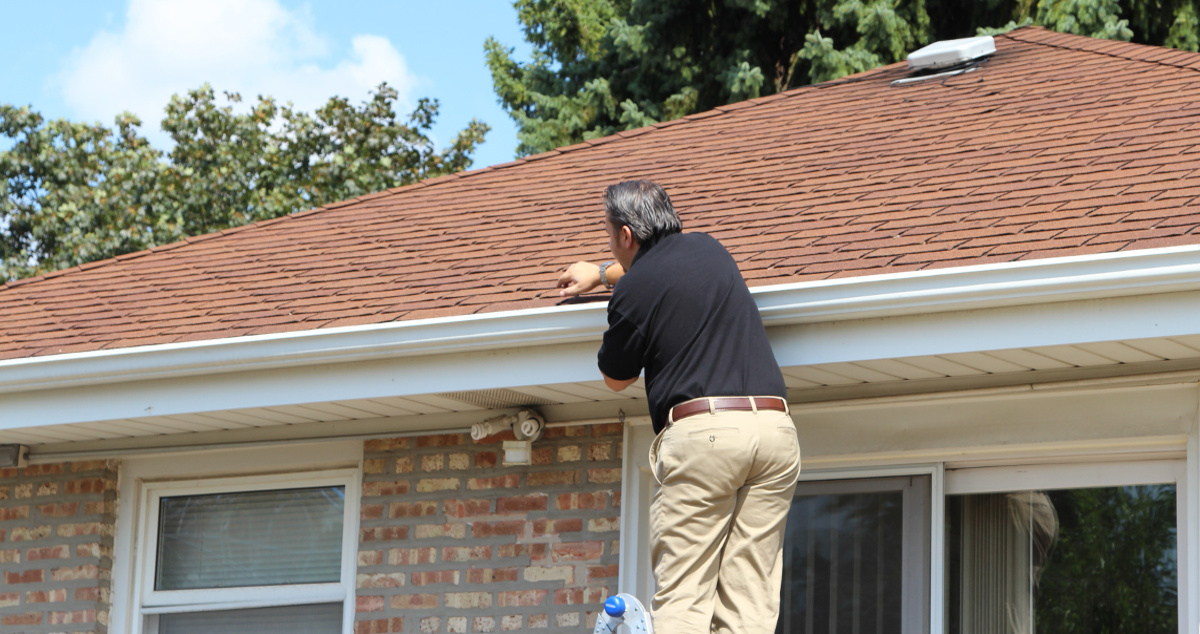
If you’re OK getting up on a ladder for a closer look, but maybe not ok with walking the roof, we recommend you put a ladder on each side of your house and climb up to the base of the roof. From this perspective you can get a good idea of the extent of any shingles warping (PICTURE). Additionally, the “Ladder Only” approach will give you an indication of your gutter’s health. If your gutters are full, water and humidity can back up and leak under the sides of the perimeter shingle, causing damage to the shingles and the wood underneath.

Obviously the best way to get an idea on the health of your roof is by walking on it. For those adventurous types who don’t mind the heights, you should seriously consider getting #1) A robust extension ladder and #2) A ladder stabilizer.
For around $75 – $100 buy yourself some piece of mind and get yourself a Ladder Stabilizer if you plan on making the trek up onto your roof. The side supports will stabilize the ladder onto the solid portion of your roof rather than the gutters and allow for an easier exit and entry – this is especially key when schlepping a bundle of shingles over your shoulder.
SAFETY TIP: If at all possible, get yourself some Roof Shoes. Cougar Paws makes some great cleated shoe and shoe covers at reasonable prices. If this isn’t a possibility make sure any shoes worn have newer treads on the bottom. In other words: Flip-flops are out of the question!
Once on the roof, meticulously walk each side. Start your inspection at the bottom and work your way up the roof – this ensures that any issues you find haven’t been caused by you.
When to Inspect Your Roof?
It stands to reason that the older a roof gets, the more pressing an inspection is needed. As a general rule, most asphalt roofs have a useful life of 12 to 15 years. We recommend a thorough inspection at least once a year after the 5 year mark. While inspections can clearly be done at any time, we like to do ours at the beginning of spring and shortly after a good rainfall. Spring is a good time to survey and clean your gutters, which when plugged – can force water under your roofs perimeter shingles. The good rain has a way of highlighting issues like:
- Water seepage under shingles
- Shingle warping
- Popped roofing nails
Safety Tip: be careful to wait until the roof is dry to inspect
We check our roof after any extreme weather conditions even like hail or wind storms. Weather events tend to jostle any weak shingles loose. Often times you’ll find loose shingles on the ground after strong storm. Additionally we try to avoid inspections during the hot summer months since shingles and their bond can become inadvertently damaged from the heat.
What Should You Look For?
You’re now ready to inspect your own roof. While there are probably hundreds of unique failure points a roof can have, we’ve tried to “nail” the list down to what we see most commonly.
Flashing

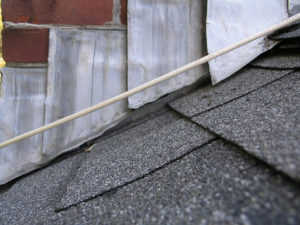
The flashing on your roof is the single most important step in a roof’s installation. If done properly it should last the life of your roof. Unfortunately with many of our inspections, we see premature failure of these connections due to poorly laid flashing, flanges, or improperly applied cement or caulk. When any part of the flashing connection fails it can create a one-way flow of water into important structural areas of your home.
Upon inspection, pay close attention to the corners and pitches when the roof meets features like Chimneys, Vents, Skylights, Dormers and Pipes. These areas are where most failures will occur.
Shingles
Before you go ahead and inspect your roof shingles, let’s take some time and understand how Asphalt Shingles fail. Top to bottom an Asphalt Shingle is composed of a layer of waterproof asphalt and oil based piece of paper over a fiberglass mat with a sticky bitumen resin bottom for bonding to your roof. When exposed to the elements over time, the top water-proof layer can break down. This, in turn loosens the protective asphalt layer which weakens the overall structure of the shingle. At this point, the eventual failure of the shingle is not far behind. Extreme temperature ranges can speed degradation, that’s why you’ll need to pay special attention to areas that receive most of the sun or the most shade during the day.

For the sunny shingles, spot check shingles in these areas by giving them a gentle tug forward. If the adhesive is still in good shape, the shingle shouldn’t move. Be careful not to pull too hard as this could prematurely loosen your shingle and create a problem down the line.
For shingles located in shaded areas for most of the day, lift up slightly on the tabs to make sure that the bonding that needs to occur for a good roof seal has taken place. If you’re easily able to pull up on the shingle more than an inch, this indicates that the bonding process has not adequately taken place.
On the course of your inspection, you’re bound to see some shingles that are raised due to popped nails, gently hammer those back into place with a tack hammer. Any loose, damaged or missing shingles should be replaced right away.
Ridge Cap
The ridge cap is the top layer of shingles on your roof and takes most of the weather related beating. As part of any inspection, the ridge cap should be checked for wear like loose nails or bulging shingles.
Moss, Algae or Lichen

Let’s face it, while we may love hobbit movies, most people don’t want organisms growing on their house like that of a hobbit’s. Moss, algae or lichen can quickly damage your roof by retaining permanent moisture on the roof. If the shingles are not allowed to dry out, the organic compounds can degrade much quicker. That’s why it’s important to remove these organisms as timely as possible.
To get rid of moss, algae or lichen apply a moss killer intended for roofs (granules for lawn-use contain iron which will stain a roof). In the spring, use a broom to remove remaining dead moss. Spread moss killer along the ridge of the roof and on any remaining green patches. Cost c2016): $20 for moss killer to treat 3,000 square feet of roof. Allow about three hours to sweep the roof, clear the gutters, and apply the granules.
These organisms love shady, wet surfaces and we see them quite often in North Carolina on older roofs. For those areas shaded by trees, you may want to consider trimming the branches back to allow sunlight to keep them away in the long term. This may not work so well in areas like the Pacific Northwest with near perpetual cloudiness.
Professional Inspection Services
If you’re planning on selling your home, a professional roof inspection is one of those items that will need to be firmly in the “must” column. Most buyer will insist on it – and rightly so! A thorough inspection can a homeowner thousands of dollars in unnecessary damages should even a small failure occur down the road. Because of its importance, an experienced roofing contractor is highly recommended for roofing inspections rather than relying on an all-around inspection handyman. Roofing professional will have the background and expertise to troubleshoot potential issues and should be knowledgeable of cost-effective fixes. Do your research on the company (google or yelp reviews) and let the roofer know that the job is for inspection only, so that you, as the customer, do not feel obligated to use the roofing company to fix the repair.
Before you commit on any inspector, be sure to ask them about their inspection process and make sure that they will be walking on every side of the house. You’re paying good money so a ground-level, visual inspection is simply unacceptable. There is no way a visual inspection from the ground will be able to catch many of the common issues that “walking the roof” would catch.
Thanks for taking the time to read our inspection recommendation – we sincerely hope this helps!
In the Market for a Roof Inspection?
If you’re ever in need of a qualified Roofing expert, give Roofing TRI a call at (919) 296-0017. We service the Durham, Raleigh, and Chapel Triangle and would be happy to talk to you about your specific needs. We’re happy to give out free advice too!


